← Back to Instructions 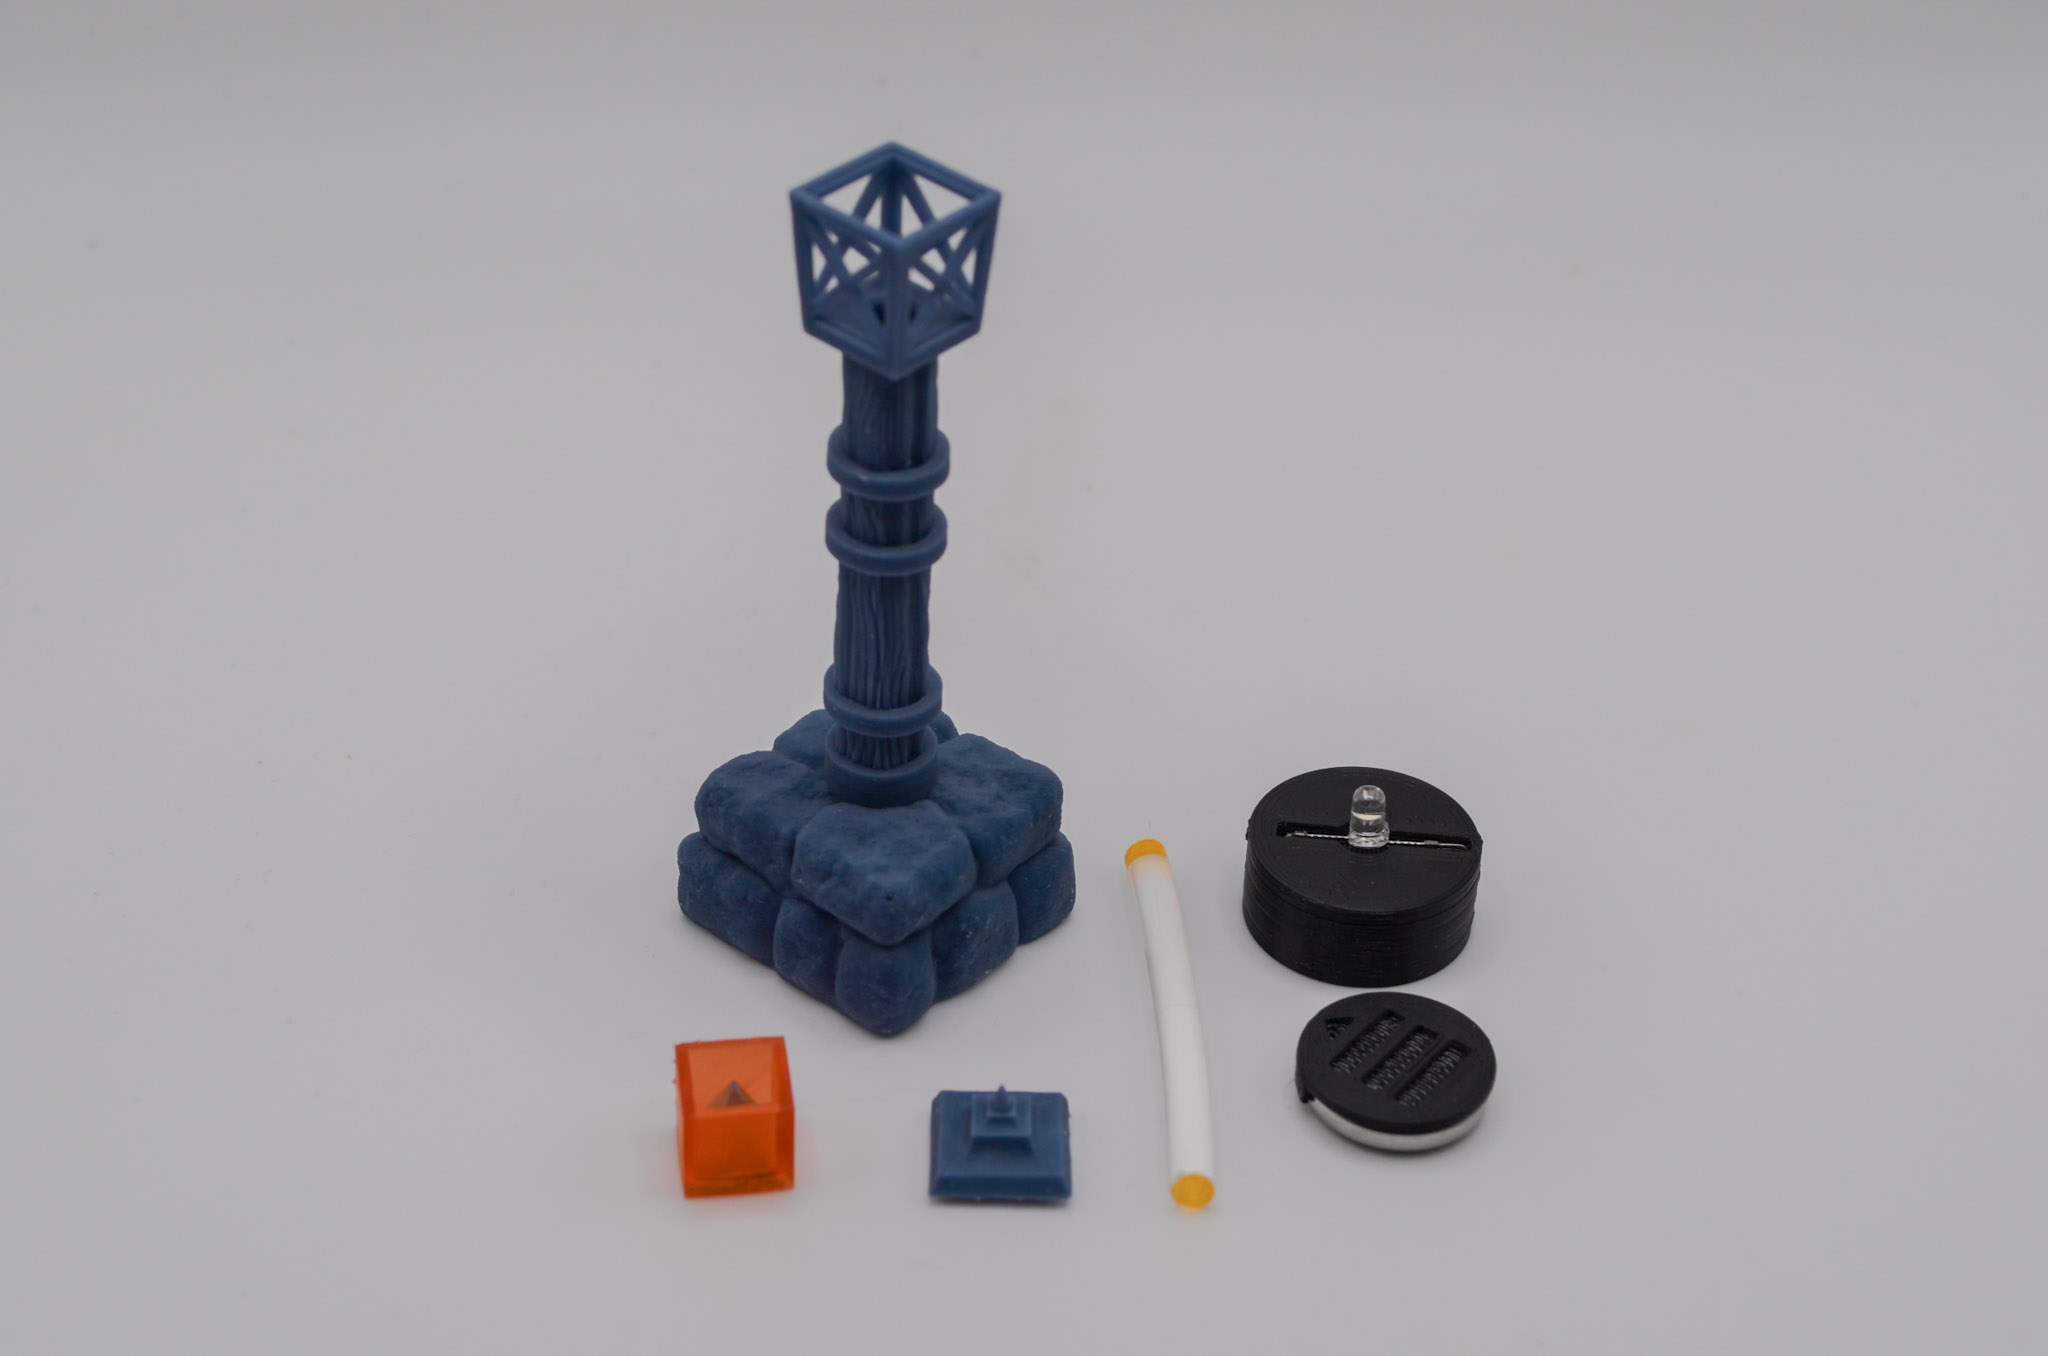
-
1. Remove Support Material
Use snips or flush-cut pliers to carefully trim away any remaining support material from the print. Take care around the fine details of the lamp post and cap.
-
2. Apply Base Coat and Dry Brush
Apply a base coat of Rustoleum Camo Black spray paint to all components. Once dry, dry brush with Reaper and Vallejo paints to bring out detail. Use neutral grays and warm whites to create a weathered metal appearance.
-
3. Install the Electronics Package
Once the paint is fully dry, apply super glue to the inside of the base and insert the electronics package. Hold in place for 30 seconds and allow to cure fully before continuing.
-
4. Insert the Fiber Optic Segment
Insert the fiber optic segment flush with the top of the lamp post pole. Press firmly until it seats fully.
Note: Kits produced from December 2025 forward no longer include the fiber optic segment — skip this step if your kit does not include one.
-
5. Place the Diffuser
Carefully align the diffuser with the top of the lamp post and insert it into position. The silver reflector should face inward. Take care not to scratch the diffuser surface during insertion.
-
6. Test the Battery
Insert the battery following the included directions and verify the lamp produces a warm light. Do not glue the cap yet — complete this test step before final assembly.
-
7. Glue the Cap
Once you’ve verified the light works correctly, apply super glue around the top of the lamp post and press the cap firmly into place. Hold for 30 seconds and allow to cure.