Four-Wick Candle
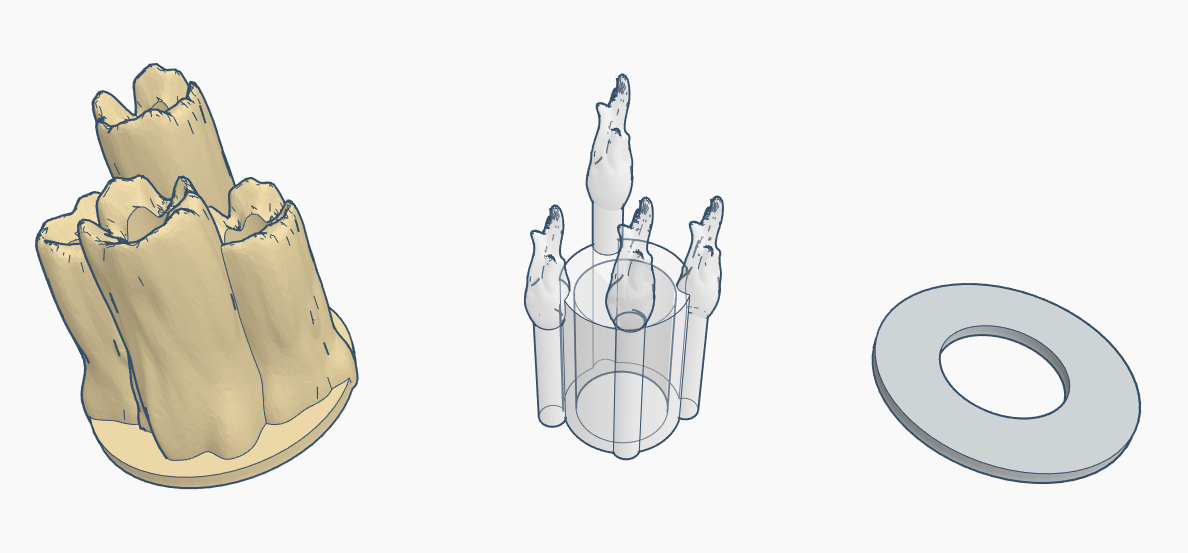
The four-wick candle assembly consists of an opaque outer shell, a translucent inner flame, and a metal washer.
It is recommended that assembly be done after painting.
We paint our candles using the following steps, with drying between each step:
- Spray-on flat black primer (to prevent LED bleedthru)
- Spray-on flat white paint (completely cover all black)
- Dry brush a mix of titanium white and saffron yellow
- Spray-on Testors Dullcote (to prevent chipping)
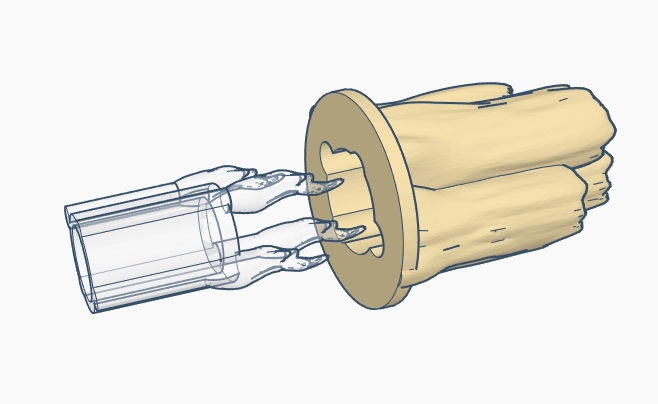
After painting, line up the translucent inner flame so that the tallest flame is in line with the tallest candle of the outer shell. Gently push the flame in to the shell. You should not need to force it in, and it should slide in easily with just fingers.
If you need to remove the translucent inner flame, please do so very carefully with either your fingers or needle nose pliers. We include several extra flames with each order in case one breaks.
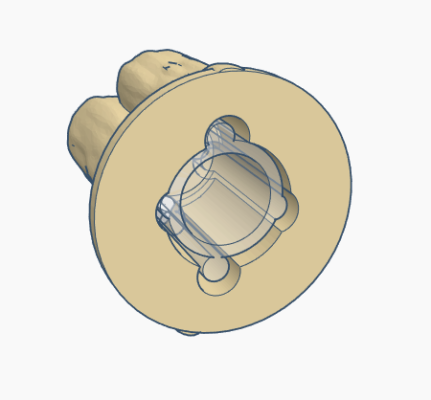
Once fully inserted, the translucent inner flame should either be flush, or slightly inset. If it sticks out at all, you may use a small instrument (e.g. the handle of a paintbrush) to gently push the flame further inside the shell.
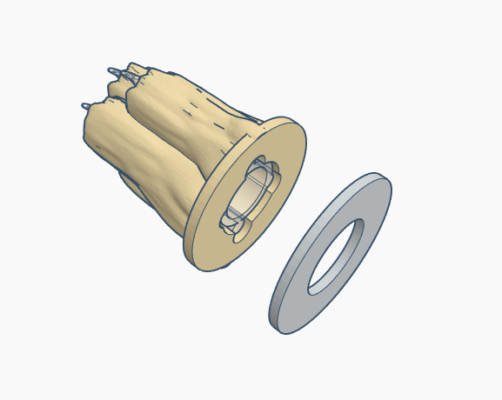
The final step is to apply a small amount of superglue (we use Gorilla Glue Gel) to the flange of the outer shell, and then carefully align the washer and press it in to place.
Allow the glue to dry completely before using the candle with your LED table base, otherwise outgassing (a natural release of gasses from the curing glue) may fog your LED and/or bond to it.