Braziers
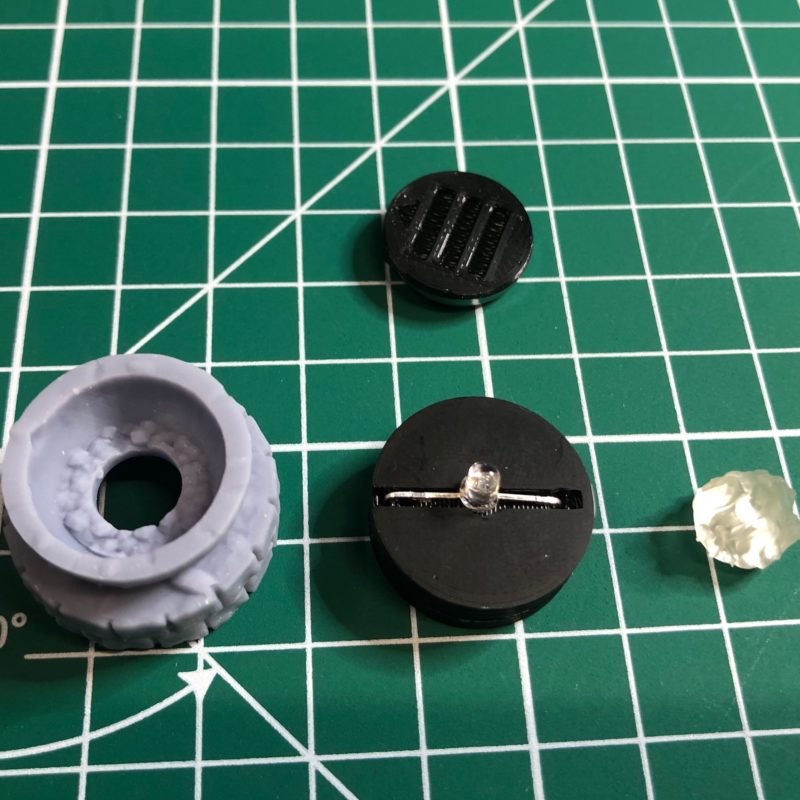
Our braziers consist of a resin shell, an electronics package with the LED and switch, and flame effect LED cover.
It is recommended that assembly be done after painting.
We paint our brazier resin shells using the following steps, with drying between each step:
- Spray-on flat black primer
- Dry brush neutral gray (e.g. Liquitex Neutral Gray No 5)
- Dry brush titanium white
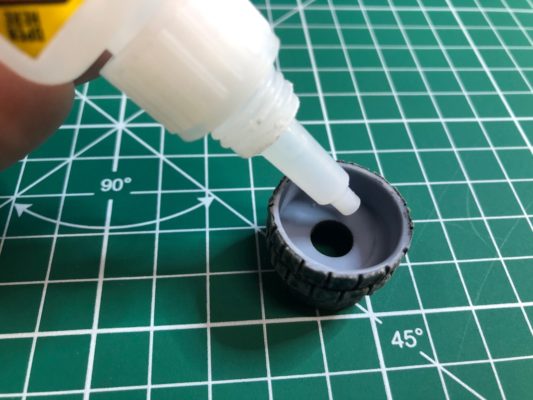
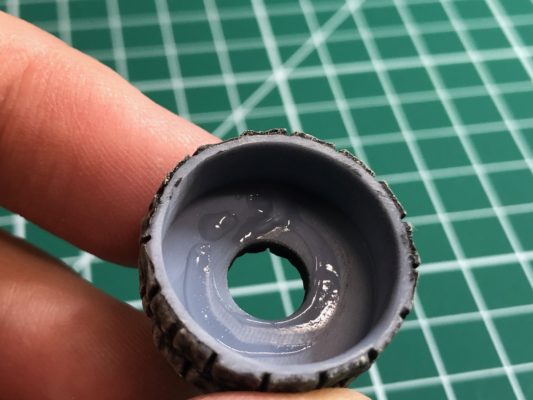
After painting and final drying, apply a small amount of glue inside the resin shell, then place the electronics package inside the resin shell with the LED going thru the middle hole.
Allow to dry for 10 minutes, with the LED facing downward.
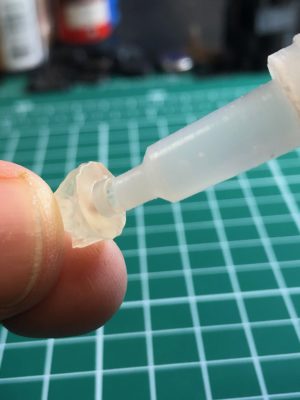
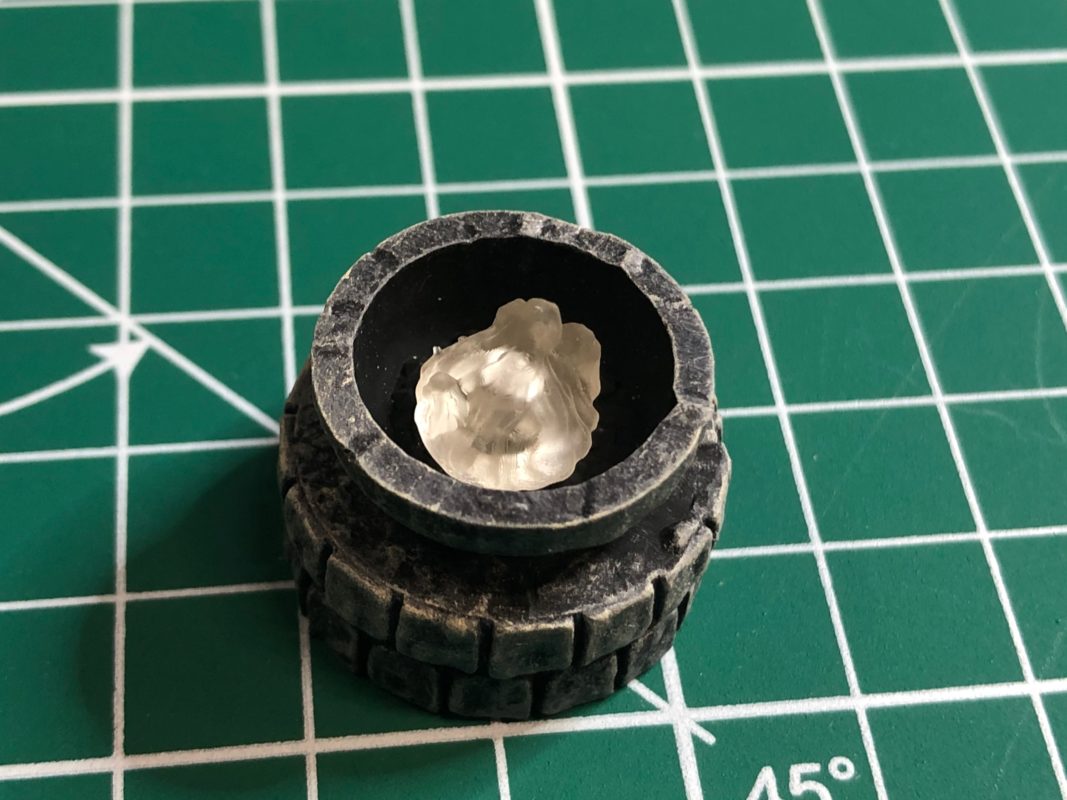
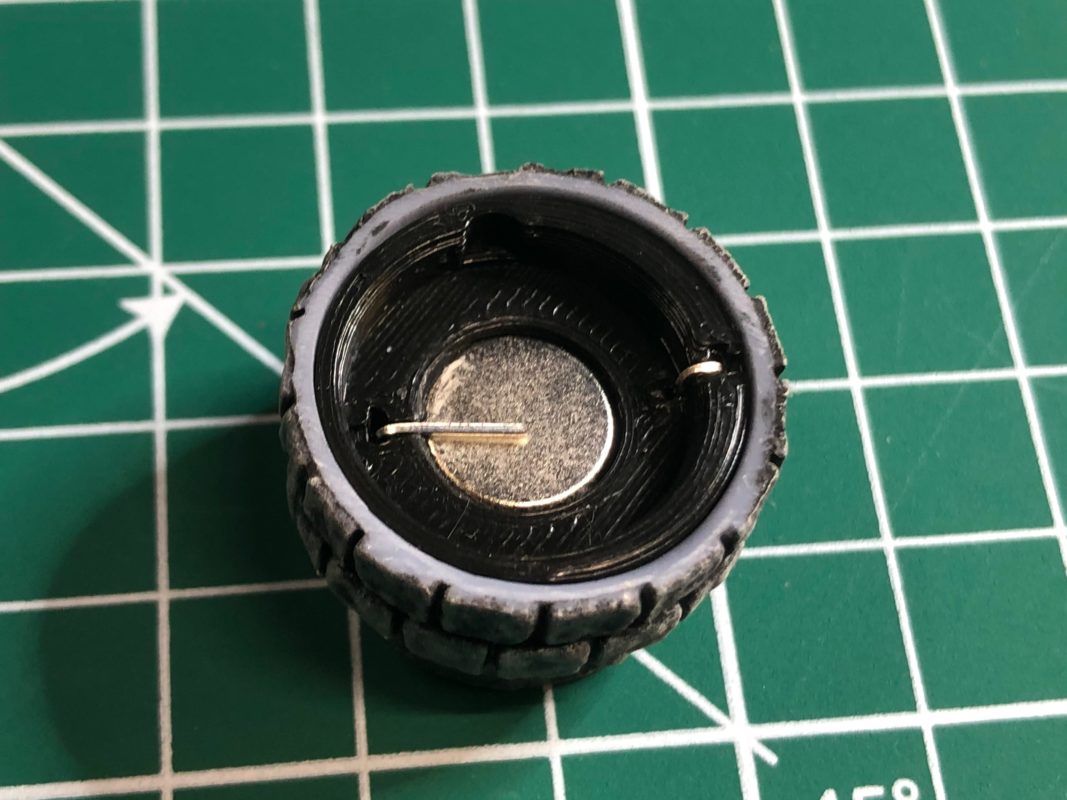
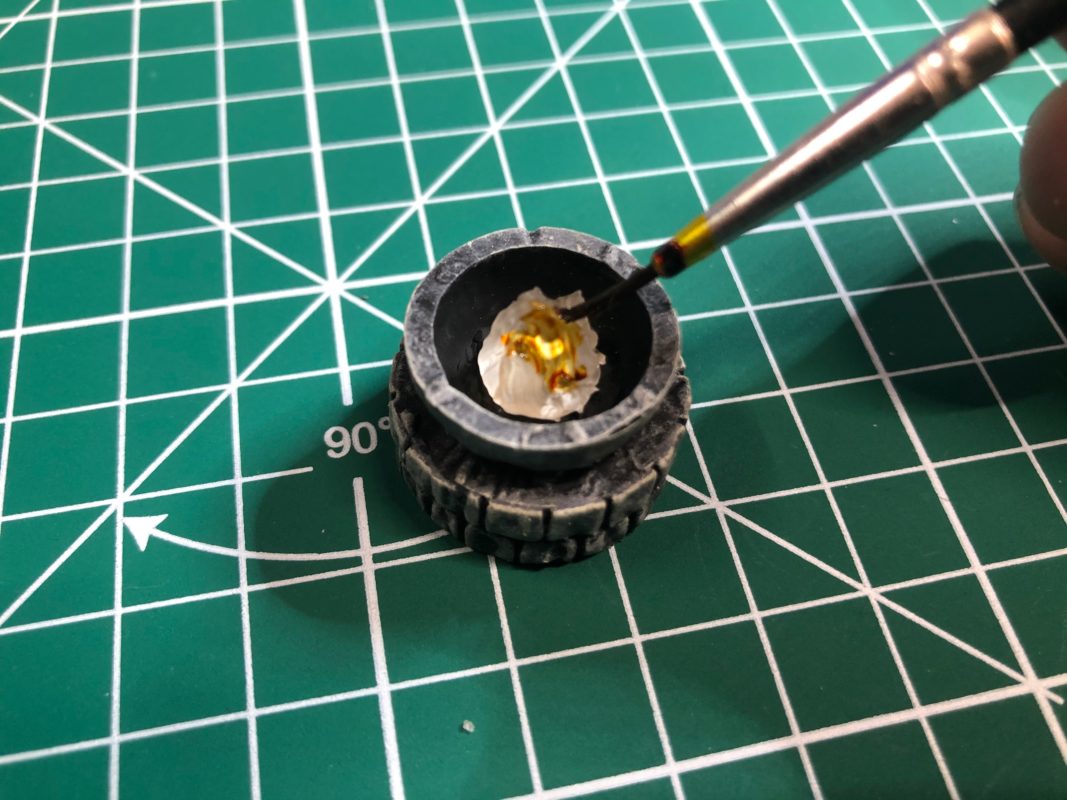
Apply a small amount of glue inside and on the bottom of the flame effect cover, then place the flame effect cover over the LED. Allow to dry for 10 minutes.
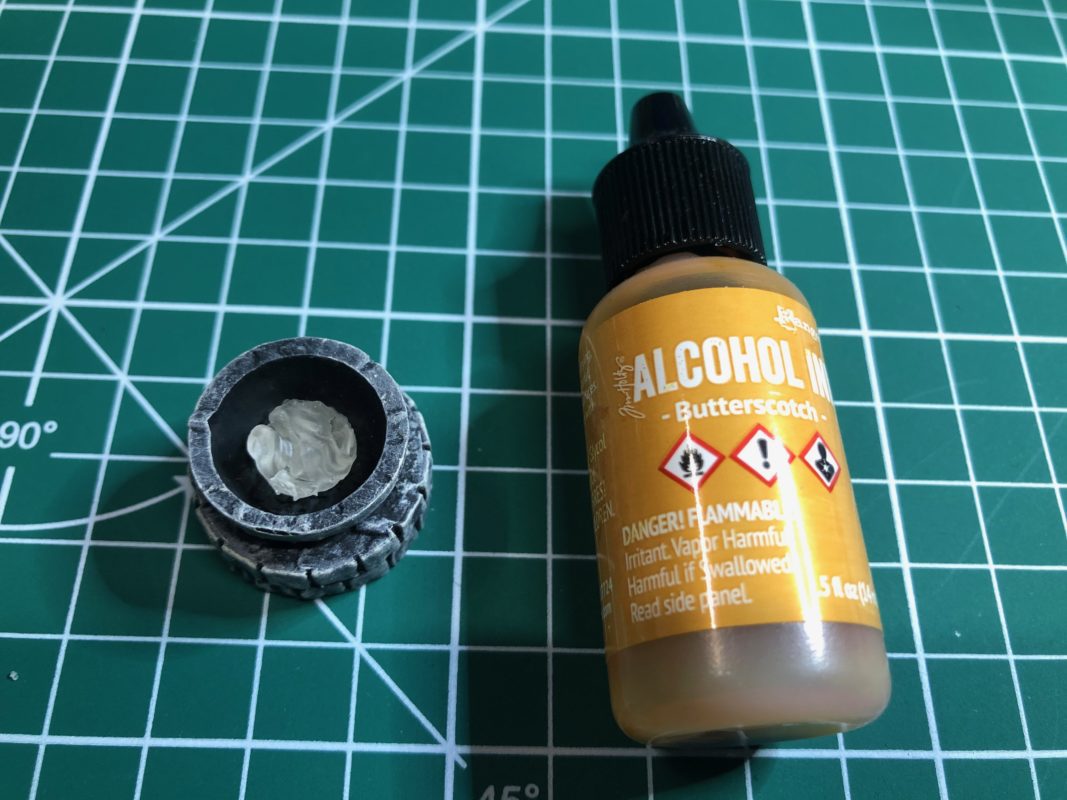
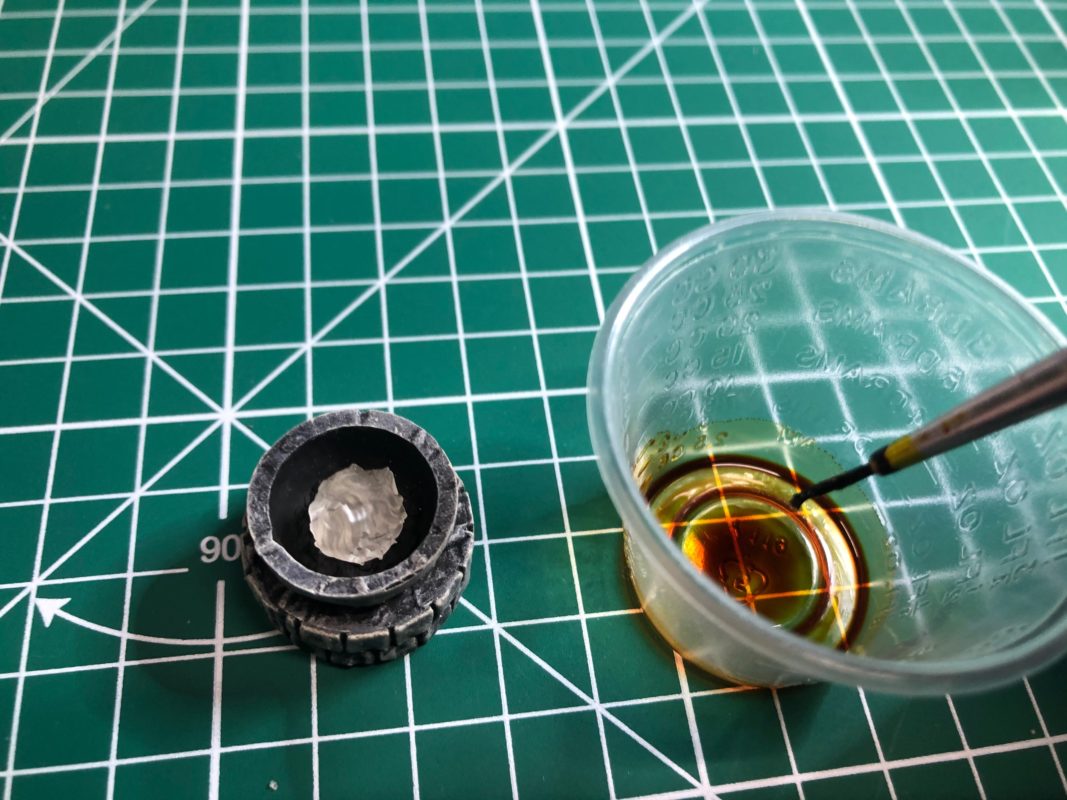
OPTIONAL
For a more nuanced flame, use some orange, yellow, or red alcohol ink to color the flame effect cover. We like “Butterscotch” by Ranger, since it contains both yellow and red, and separates a bit, which lends itself to a great mix of coloration.
NOTE – If you apply the ink before gluing the flame effect cover on to the LED, you will need to let the ink dry for around 24 hours before gluing it, otherwise the alcohol in the ink will impair the curing of the superglue.