Tables
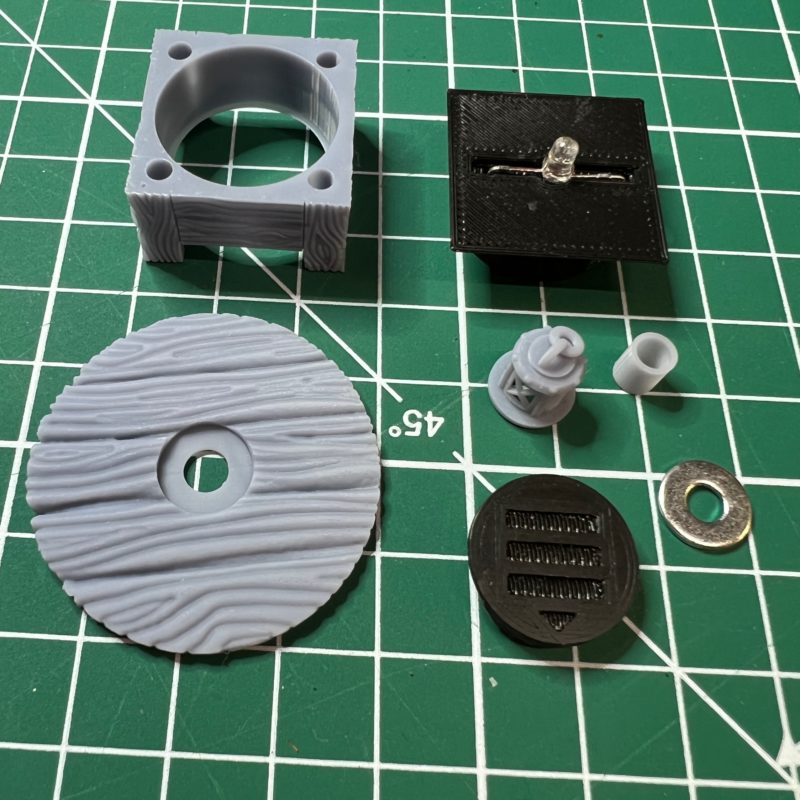
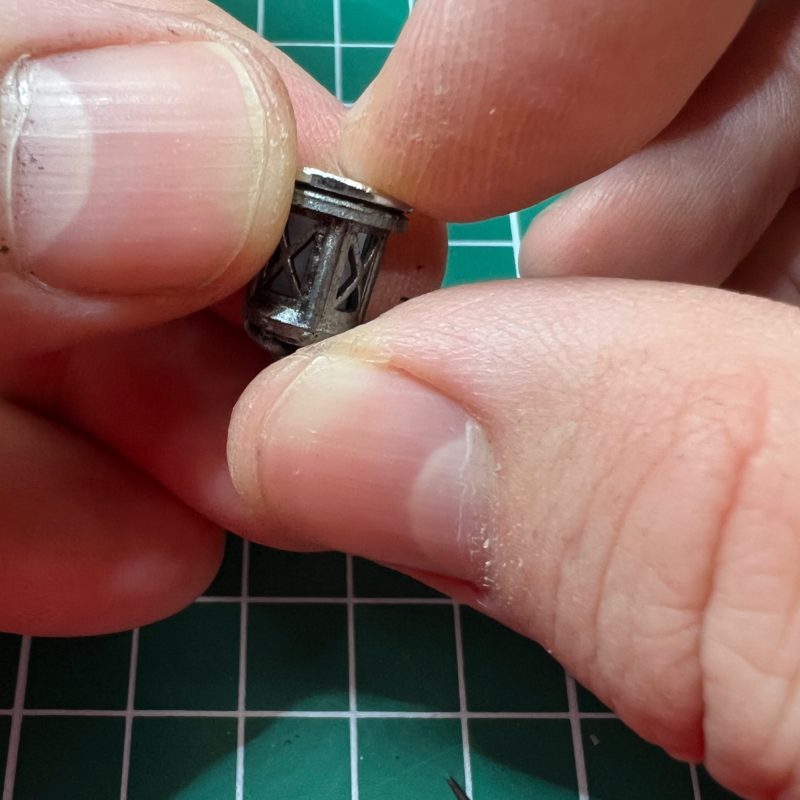
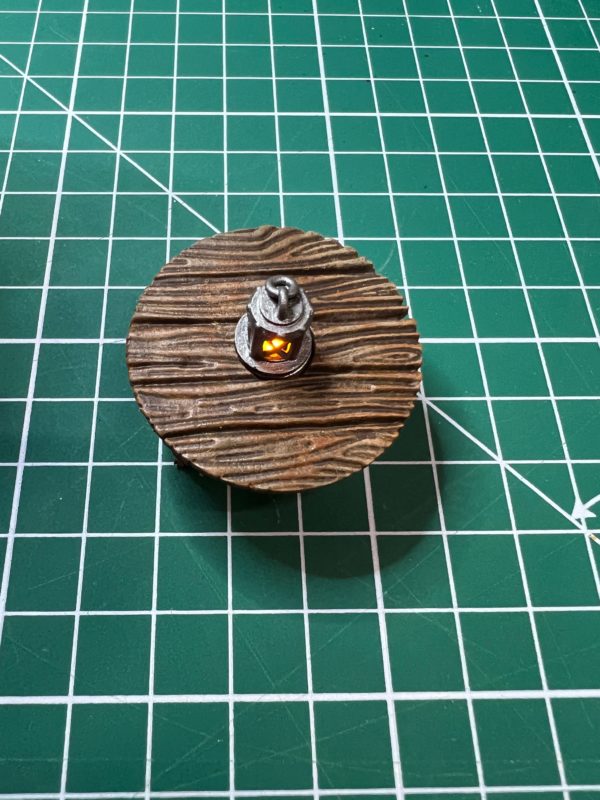
Our tables consist of a resin shell table base, an electronics package with the LED and switch, a lantern, and a table top.
It is recommended that assembly be done after painting.
We paint our table resin shells and tops using the following steps, with drying between each step:
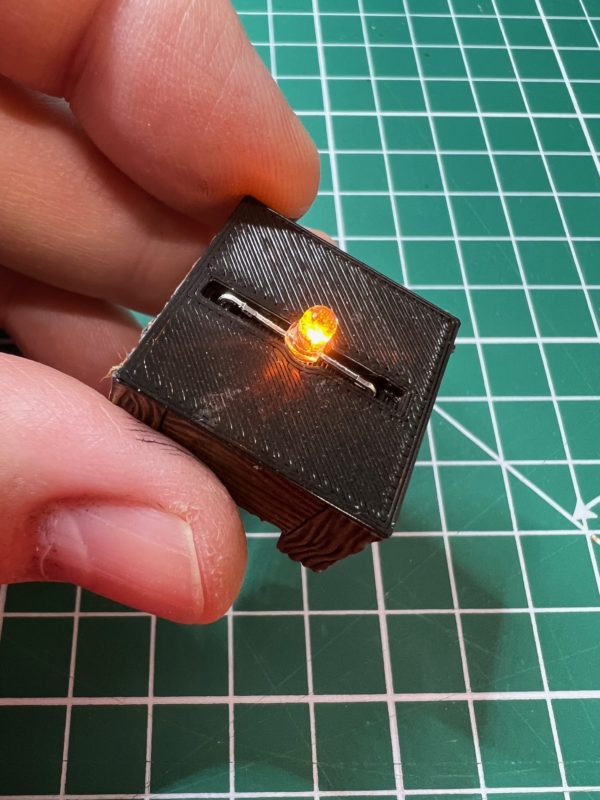
The LED cover is painted as follows:
- Base coat flat black primer. This is important to prevent light from leaking out of the lantern. If you are priming with brush-on primer, you may want to do two coats of primer followed by two coats of black paint. We use flat black spray paint primer, one coat is sufficient.
- Metallic paint (Vallejo, Army Painter, etc) we use gunmetal.
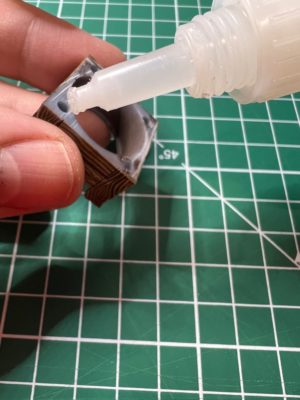
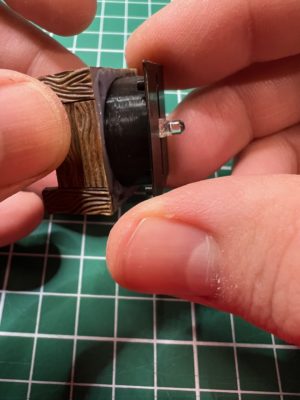
After painting and final drying, apply a small amount of glue along the top edges of the table base, then insert the LED package, with the pegs lined up with the holes of the base. Be careful as some glue may squish out around the edges. If this happens, wipe it off quickly.
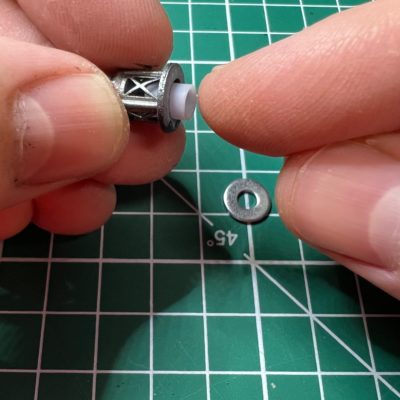
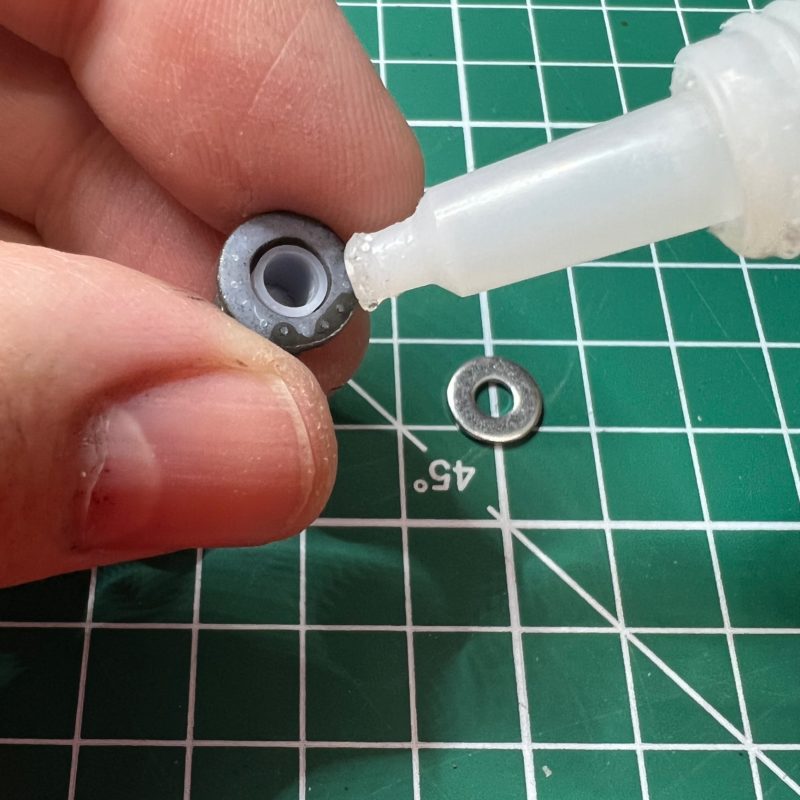
While the table base dries, insert the LED diffuser into the lantern. Next, apply a small amount of glue around the base of the lantern, then add the washer, with the smooth side facing the glue. Center it quickly and carefully.
NOTE – The washer is optional. It holds the table together due to the magnets inside the electronics package, but it can also be glued directly to the table top.
The washer+magnet design allows for swapping various table top sizes and styles.
IMPORTANT – If the washer is glued to the lantern, allow it to dry for at least an hour before placing it on the table top, otherwise it may bond to the table top.
Final Steps
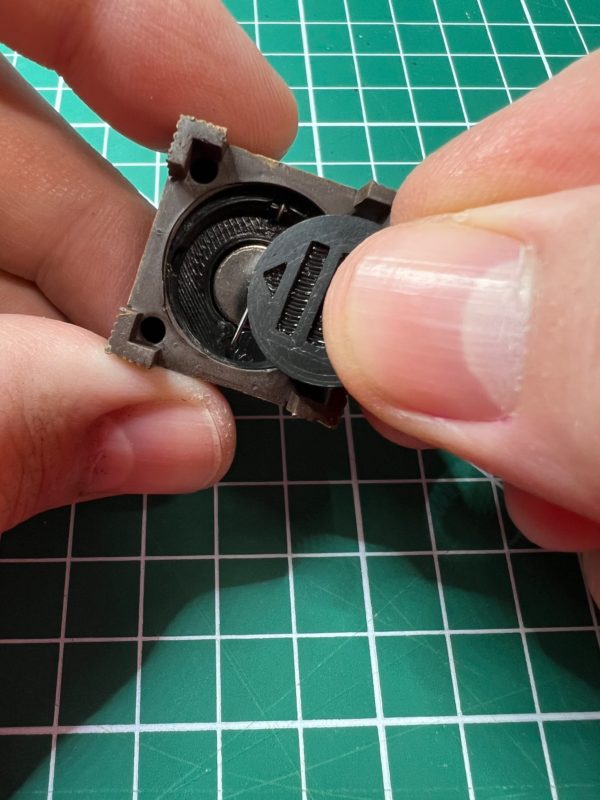
After everything is painted, assembled, and dried, add the battery (see instruction sheet included with your order) and activate it. Then, place the table top on the table, followed by the lantern.