Pylons
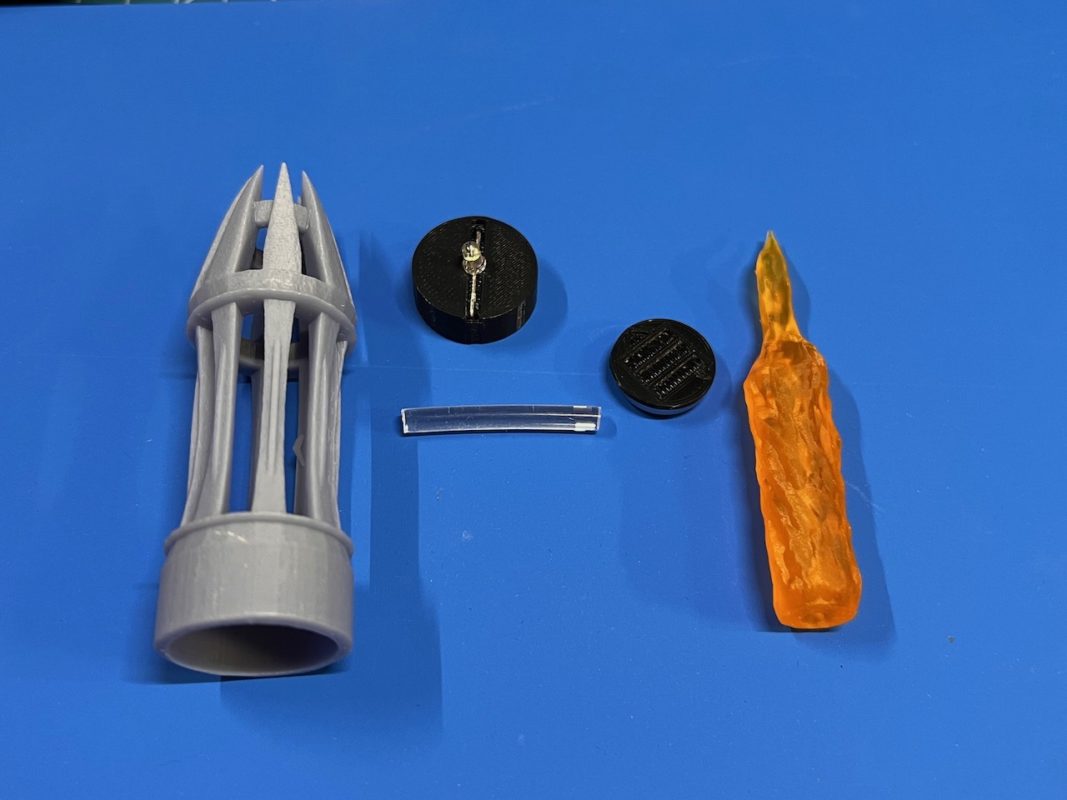
The pylon consists of an outer resin shell, resin flame effect, pre-cut fiber optic segment (older versions only), LED electronics package, and battery.
It is recommended that assembly be done after painting.
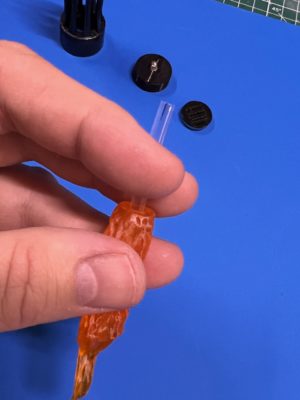
If your pylon did not come with a fiber optic segment, skip this step. Beginning in February 2023, we changed the flame design so that it no longer requires the fiber.
Hold the flame effect upside down and insert the fiber optic segment. It needs to be fully inserted, if it is snug use a paint brush handle to push it down inside.
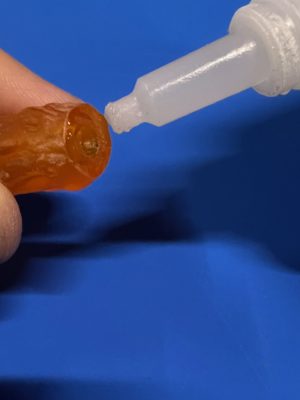
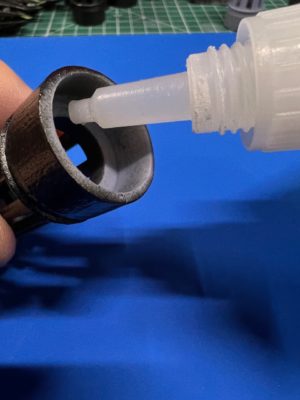
Apply some superglue (we use Gorilla Glue Gel) to the base of the flame effect, around the hole.
Keep the flame effect sideways or upside down, insert the LED in to the hole and press the flame effect against the black plastic of the electronics package. Please be careful to center it as closely as possible. Hold firmly in place for 30 seconds, then set aside right-side-up to cure for at least 10 minutes.
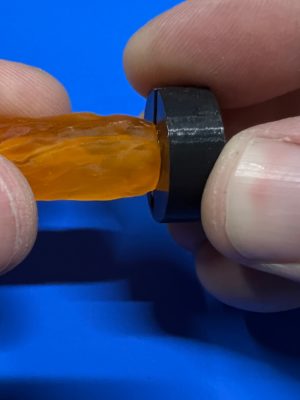
Apply glue around the inside lip of the bottom of the outer shell.
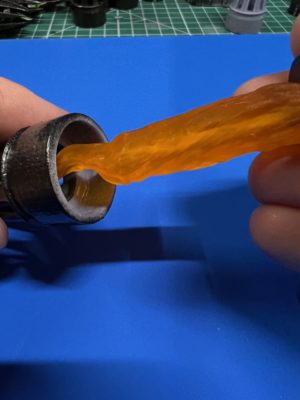
Insert the flame effect in to the shell, flame first, so that the black plastic of the electronics package contacts the inner lip of the shell. Hold firmly in place for 30 seconds, then place pylon on its side to cure for at least 10 minutes.
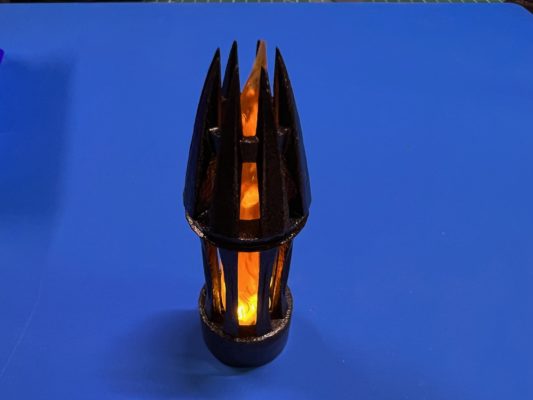
After curing, install battery (see instruction sheet) and turn on the LED.